

















OpenAI / ChatGPT Shopping – Product Feed
Product feed for ChatGPT shopping: build, deliver, check
Step 2: The guided setup
The start screen
The first time you click Configure, the module asks how you want to start. Both ways lead to the same settings, and you can switch at any time.
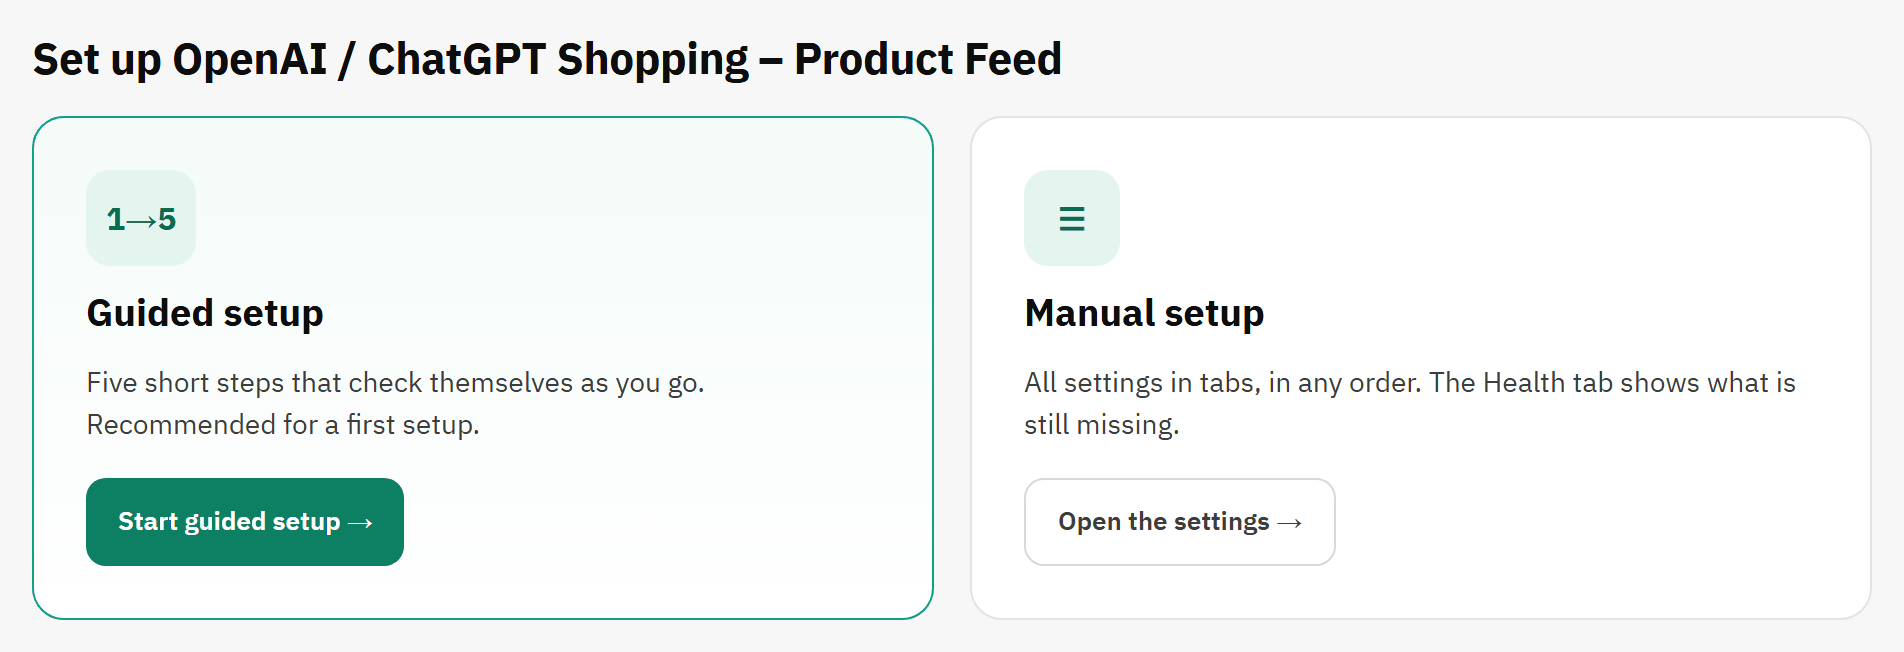
- Guided setup: five short steps that check themselves as you go. Recommended for a first setup.
- Manual setup: all settings in tabs, in any order. The Health tab shows what is still missing.
- Start guided setup opens the first step.
Once you have chosen, Configure opens your setup straight away.
How every row works
- A saved row shows its value, ✓ Saved and Edit. Click Edit to change it. One row is open at a time.
- Type the value and click Save, or press Enter. Cancel or Esc closes the row without saving.
- A row that still needs a value shows Required. A row you may skip shows optional.
- A value copied for you, in a new feed for example, shows Not confirmed yet: Confirm saves it as it is.
- When a value is refused, what you typed stays in the field, and one sentence under it says why.
- Choices are buttons. Each one starts with a sensible answer selected, and one click saves it.
- The ⓘ next to a label shows a short tip. Some rows also offer How do I find this?, with more help.
- Each row saves on its own: there is no Save button for the whole page.
- The SFTP password and your own hosted feed password are stored encrypted and always shown masked. To replace one, click Edit and paste the new value.
The five steps
| Step | What you do | Done when |
|---|---|---|
| Your store | Seller name, return policy, privacy policy, terms of service and returns. | The required rows are saved. |
| Product feed | Language, currency, which products, out-of-stock products, variants and their titles, then Build the feed now. | A build wrote at least one item. |
| Delivery | SFTP, hosted URL or download only, then the rows of that method. | Test connection or Check the URL answers passed, or Download only is chosen. |
| Schedule the feed job | Add the job’s address to your scheduler. | Your scheduler called the job once. You may go on before it does. |
| Check it works | Read the list, and follow Fix → on any line that is not ticked. | Always reachable: Save and finish ends the setup. |
The stepper at the top opens any step, in any order. Next never waits: a step you leave unfinished shows on the last step.
Step 1 of 5: Your store
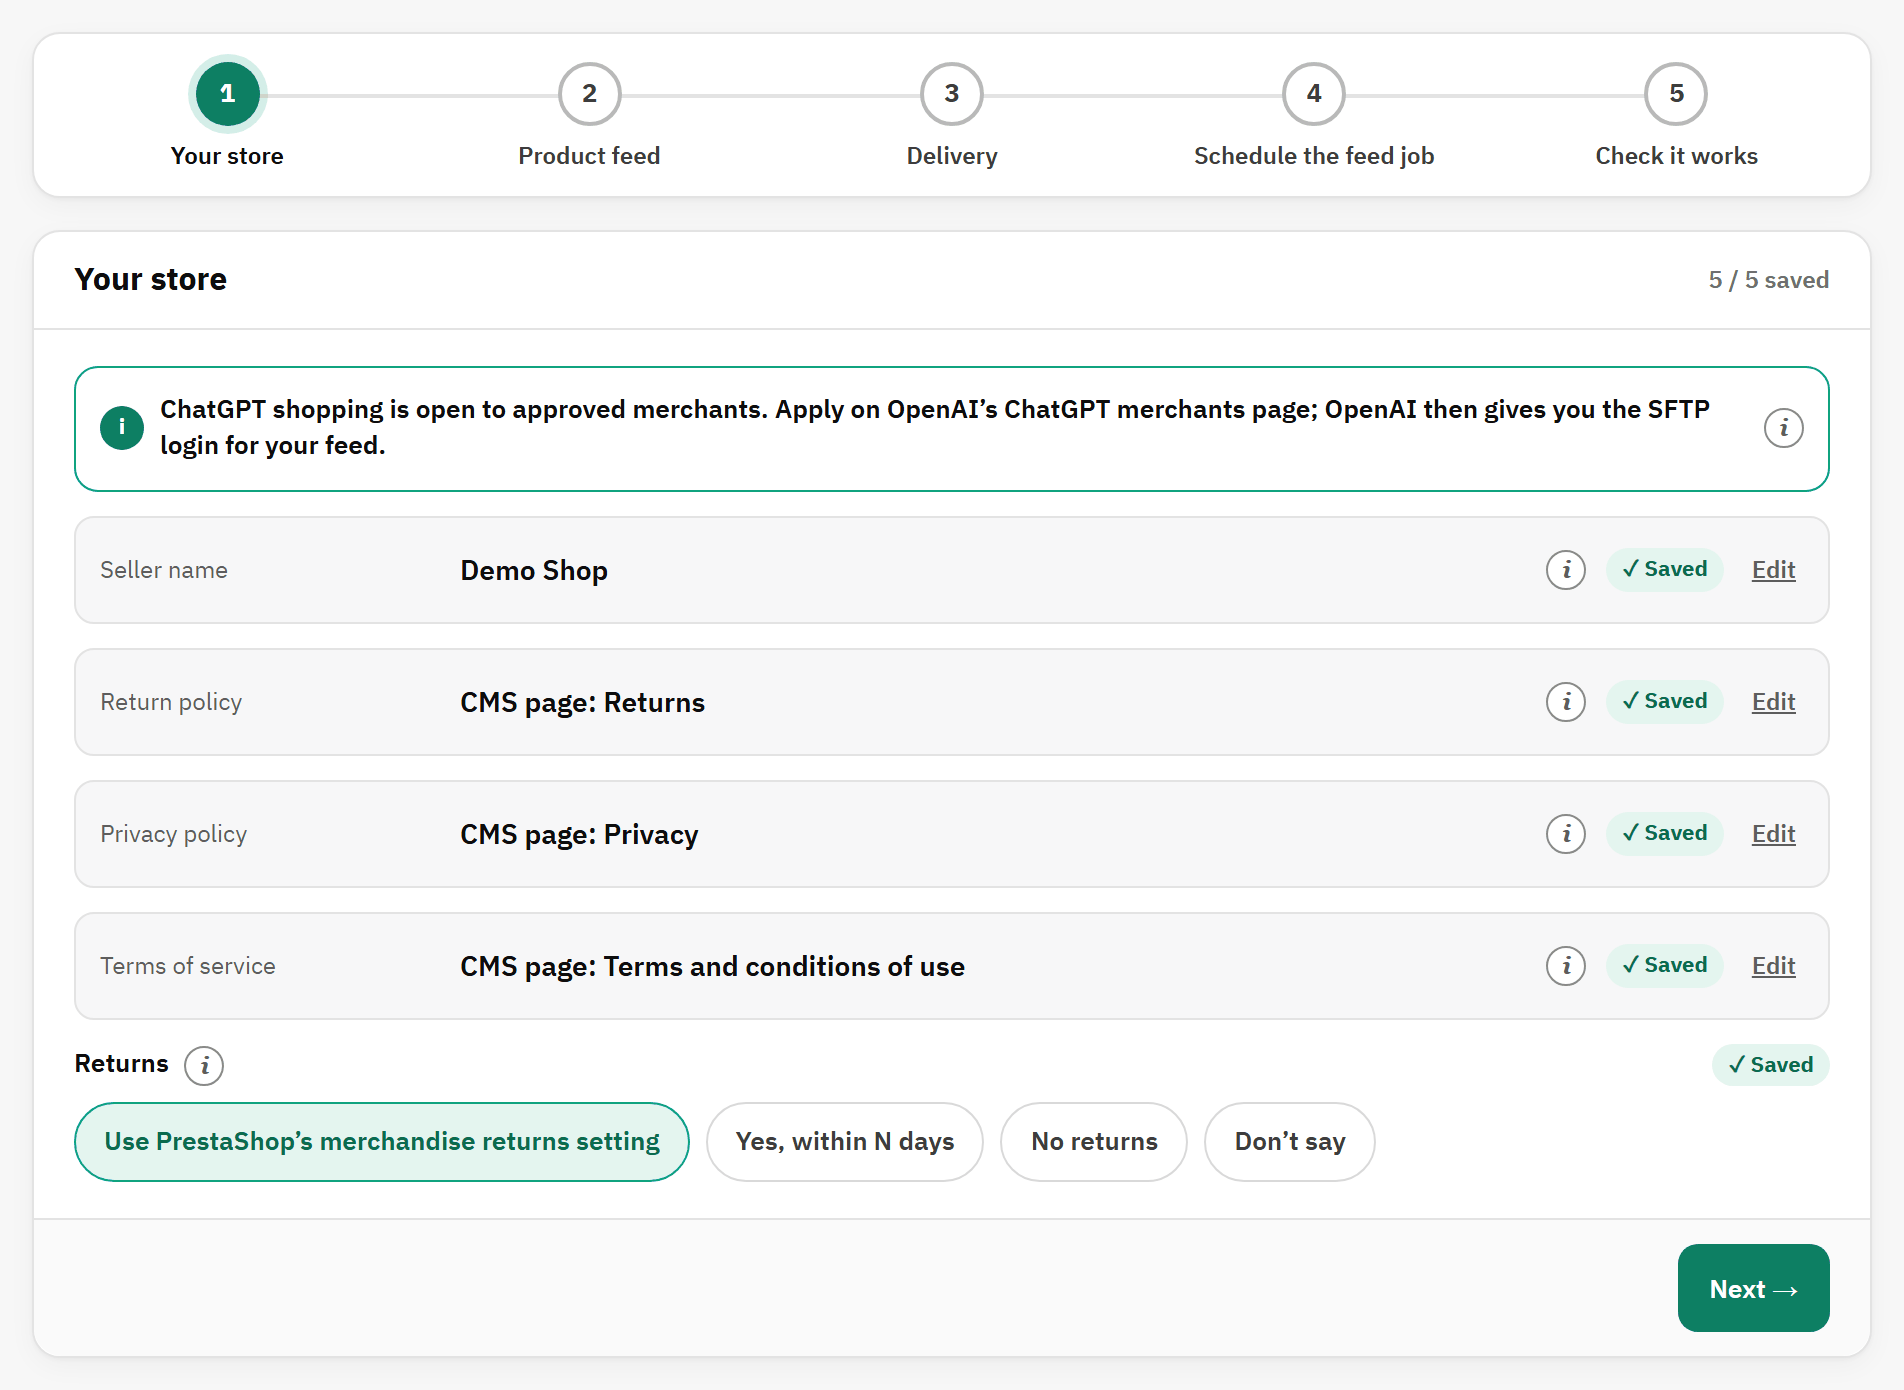
- The stepper. A finished step shows a tick; click a step to open it.
- The note about applying to OpenAI. Its ⓘ tells you more.
- A saved row: its value, ✓ Saved and Edit.
- Returns is a choice: one click saves it.
| Row | What it does |
|---|---|
| Seller name | The store name OpenAI shows next to your products in ChatGPT. It starts with your shop name: one Save confirms it. |
| Return policy | Required. Pick a CMS page and choose a page of your shop, or Enter a URL with the full address of the page. OpenAI shows it with your products. |
| Privacy policy, Terms of service | Optional, set in the same two ways. Written to the feed when set. |
| Returns | What the feed tells OpenAI about returns. Use PrestaShop’s merchandise returns setting (the default): when merchandise returns are on in Customer Service › Merchandise Returns, the feed says returns are accepted, with the number of days set there; when they are off, it says nothing. Yes, within N days: you enter the days in Return window (days). No returns: the feed says you do not accept returns. Don’t say: the feed makes no claim. |
Step 2 of 5: Product feed
This step sets up your main feed. Every choice starts preselected, so you can build at once.
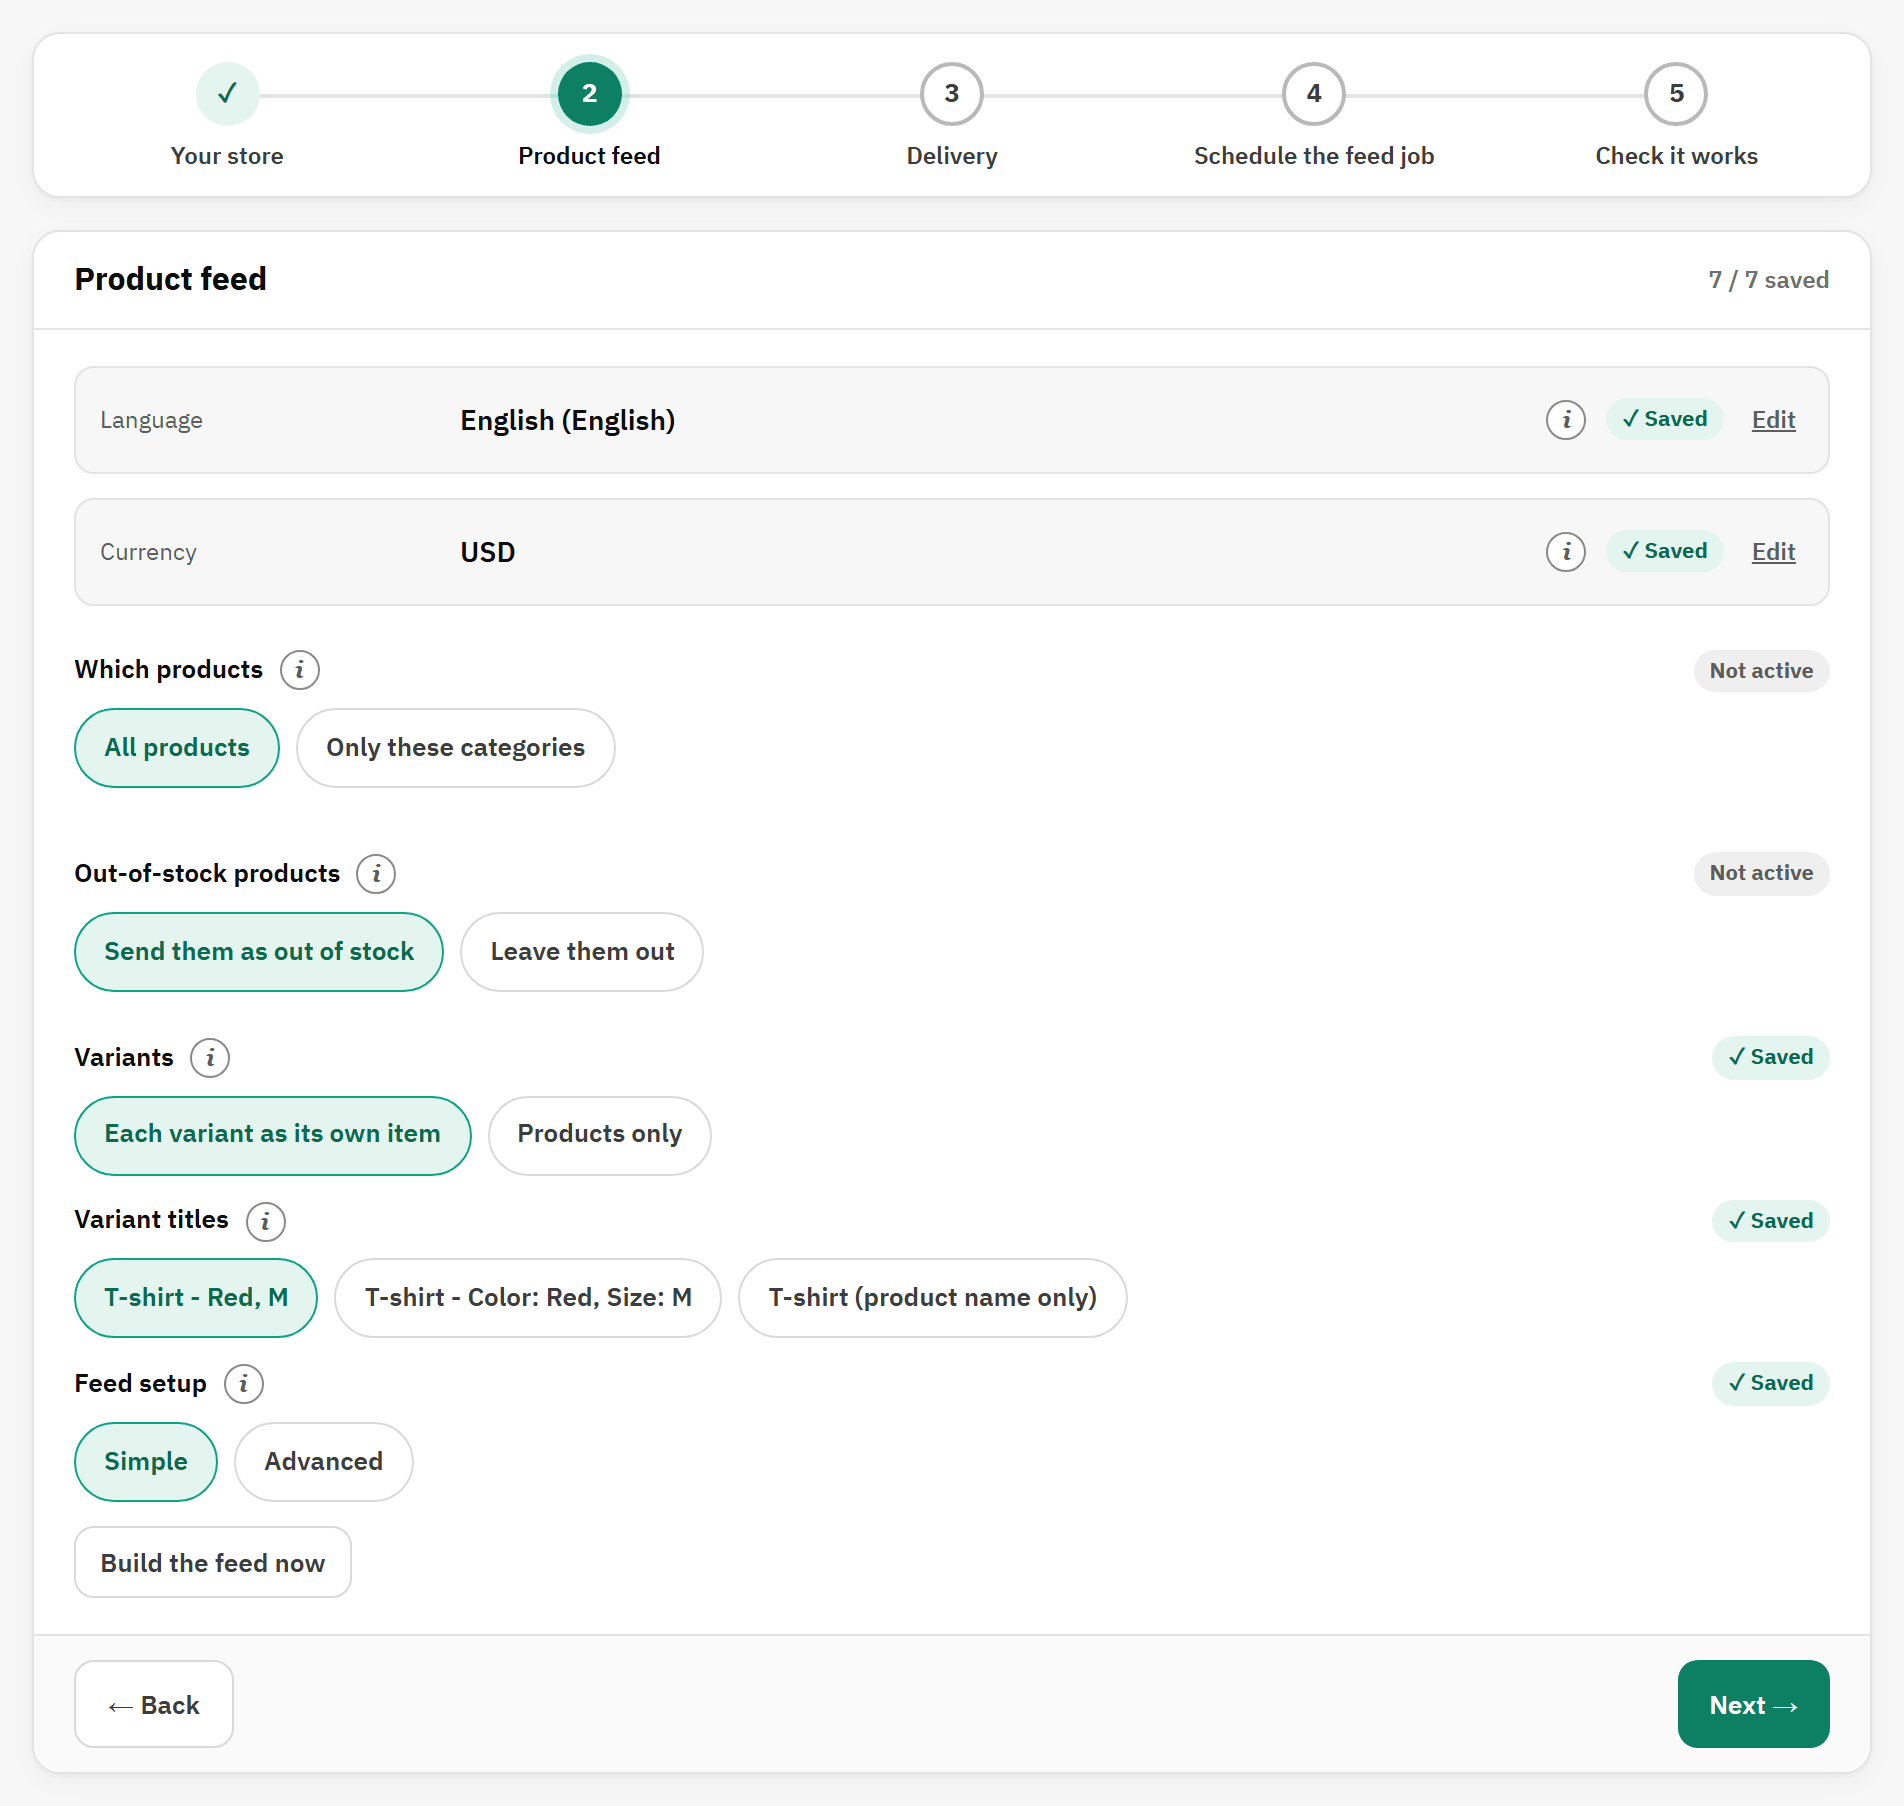
- Language and Currency of the feed.
- Which products: all, or only some categories.
- Out-of-stock products.
- Build the feed now builds the file.
| Row | What it does |
|---|---|
| Language | The language of titles, descriptions and links. Pick a language your catalogue is translated into: a product without a name in this language gets no title. |
| Currency | The currency of every price. A currency other than your default one is converted with PrestaShop’s exchange rate. |
| Which products | All products (the default), or Only these categories: a category tree opens, with the number of active products beside each category. A product counts when any of its categories is ticked. Subcategories are not ticked for you. |
| Out-of-stock products | Send them as out of stock (the default): ChatGPT still knows them, marked out of stock. Leave them out: a product that runs out stays in the file for 3 more days, marked out of stock and out of ChatGPT search, then it is removed. |
| Keep orderable ones | Shown with Leave them out. Yes (the default) keeps the products you still accept orders for at zero stock, sent as backorder, or as pre-order when they have an availability date in the future. |
| Variants | Each variant as its own item (the default): every combination gets its own price, link, pictures and identifiers. Products only: one item per product, at the price of its default combination. |
| Variant titles | How a variant is named: T-shirt - Red, M (the default), T-shirt - Color: Red, Size: M or T-shirt (product name only). Titles are cut at 150 characters. |
| Feed setup | Simple (the default) covers what most stores need. Advanced adds filters and content options: see Advanced settings. Switching keeps every value. |
Building the feed
Click Build the feed now. A progress bar shows how many products have been read. Cancel stops the build and leaves the last file as it was.
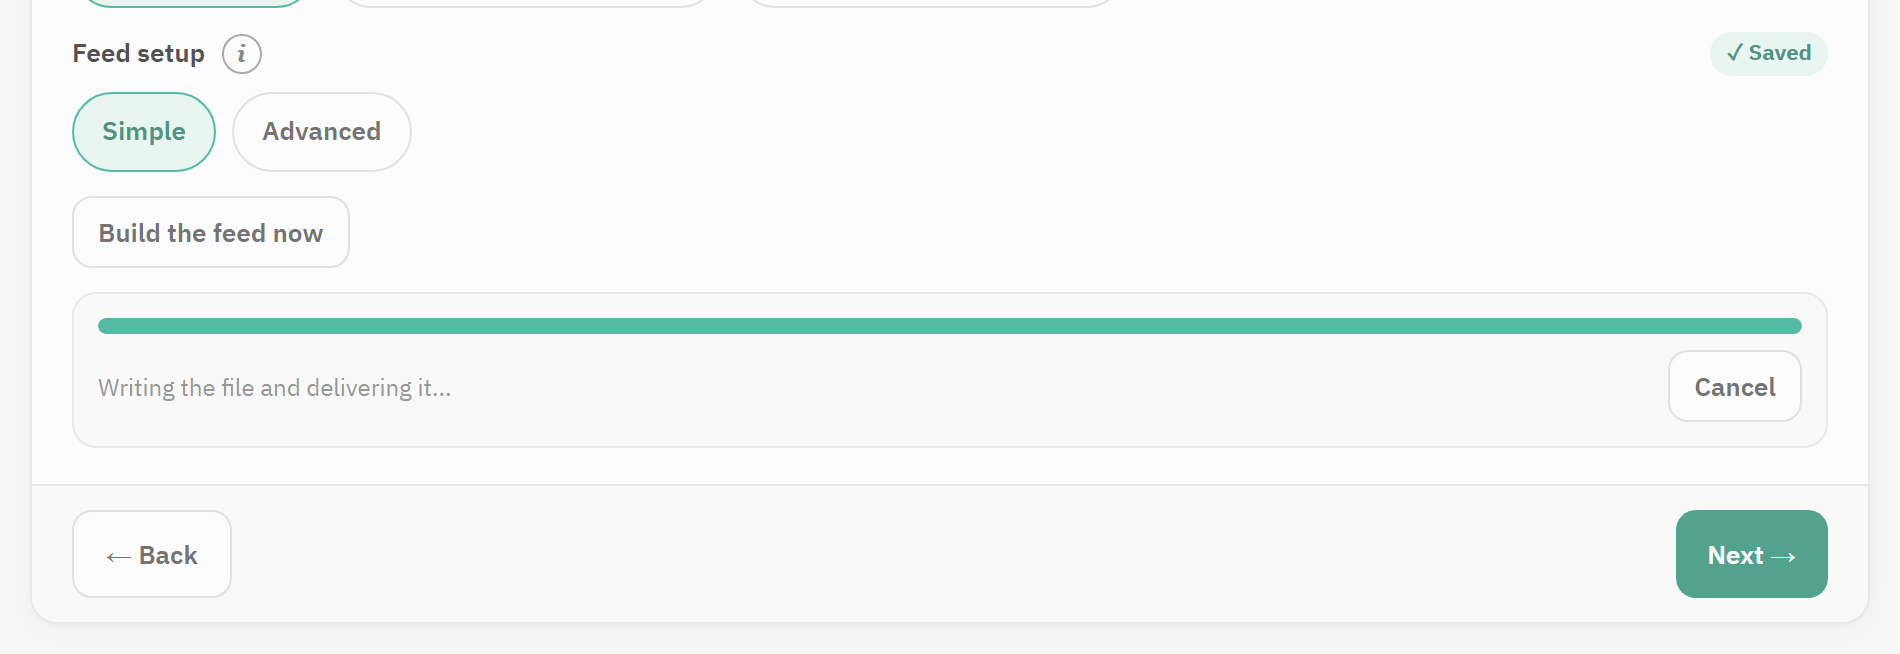
- The progress bar.
- Cancel stops the build.
When the build is done, a green line says how many items were written. An item is one row of the file: a product, or one variant of a product. When a delivery is already set, the file is sent too.
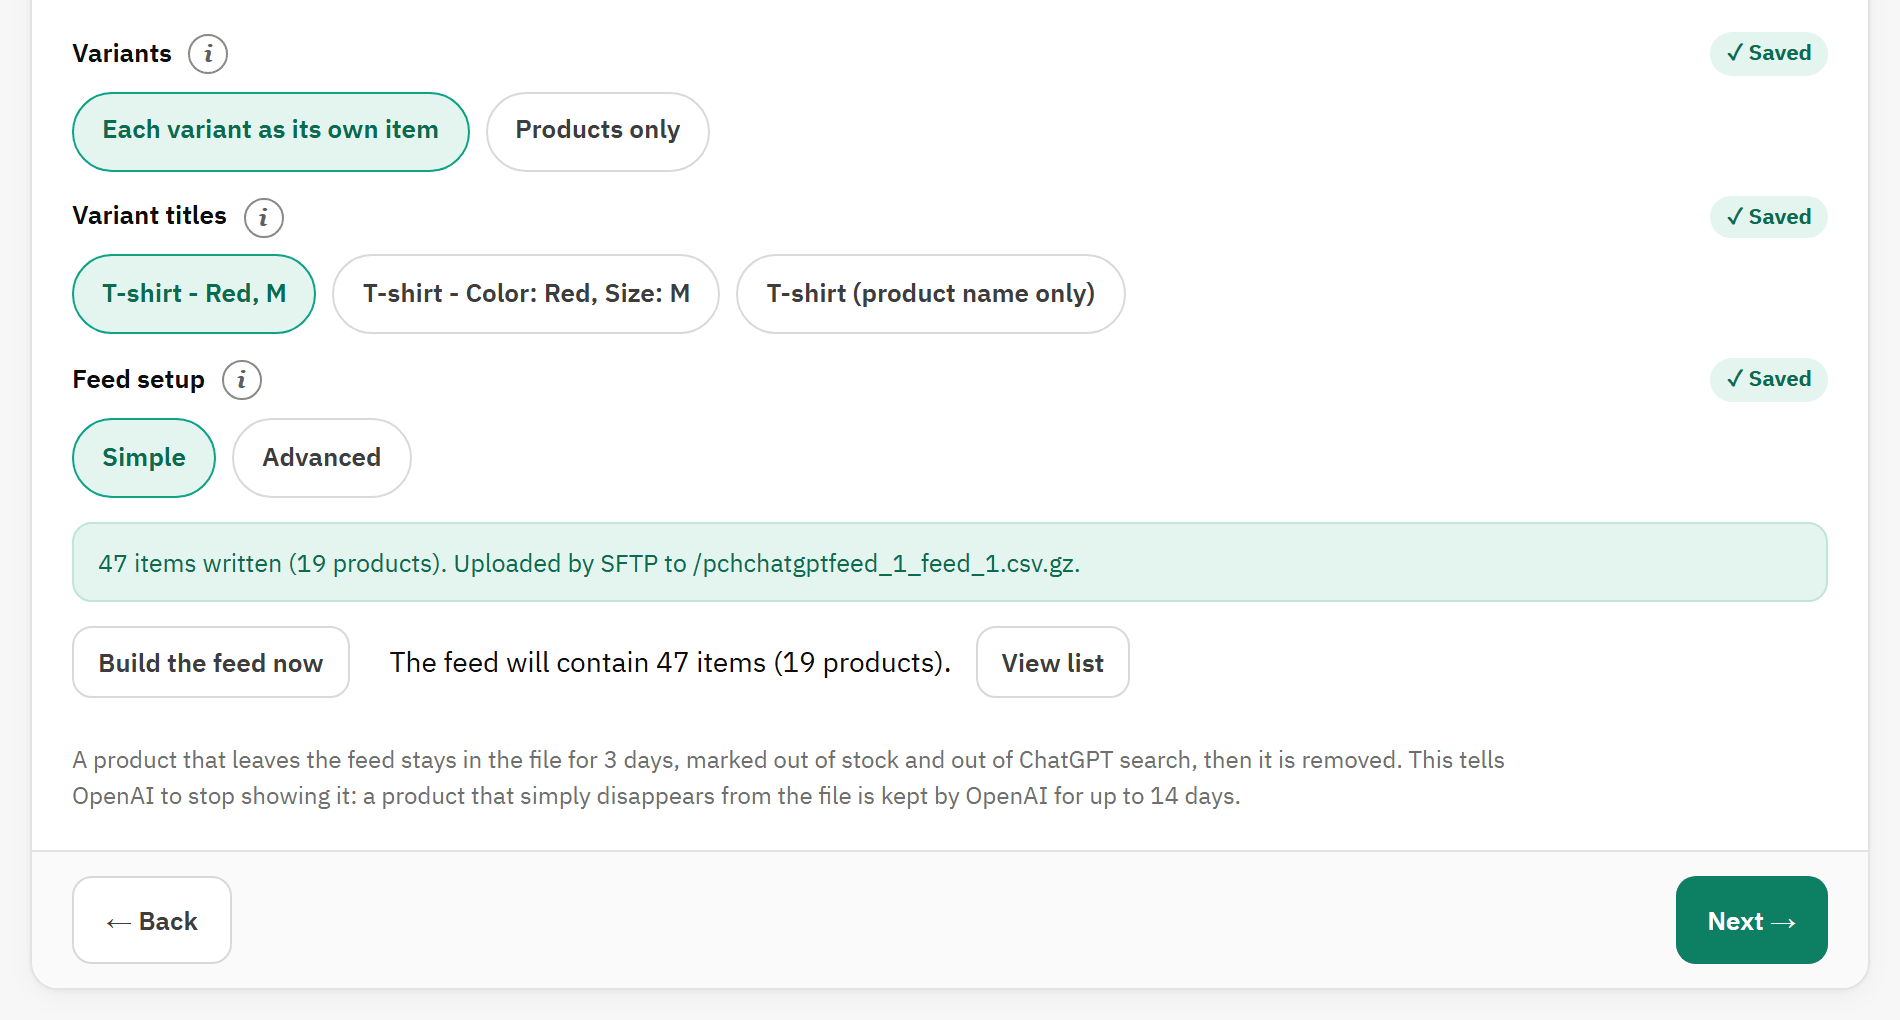
- The result of the build, and of the delivery.
- What the feed will contain with the current settings.
- View list shows those items: see Under the rows: count, list, downloads, builds.
Step 3 of 5: Delivery
Choose how the feed reaches OpenAI.
| SFTP (OpenAI’s way for ChatGPT feeds) | After each build, the module uploads the file to the SFTP account OpenAI gave you for this feed. This is how ChatGPT product feeds are delivered. |
|---|---|
| Hosted URL (for an Ads Manager feed) | OpenAI downloads the file from your shop. OpenAI documents this for feeds in its Ads Manager, not for ChatGPT product feeds. |
| Download only | The file is built and you can download it. Nothing is sent. Use it while you wait for your SFTP login. |
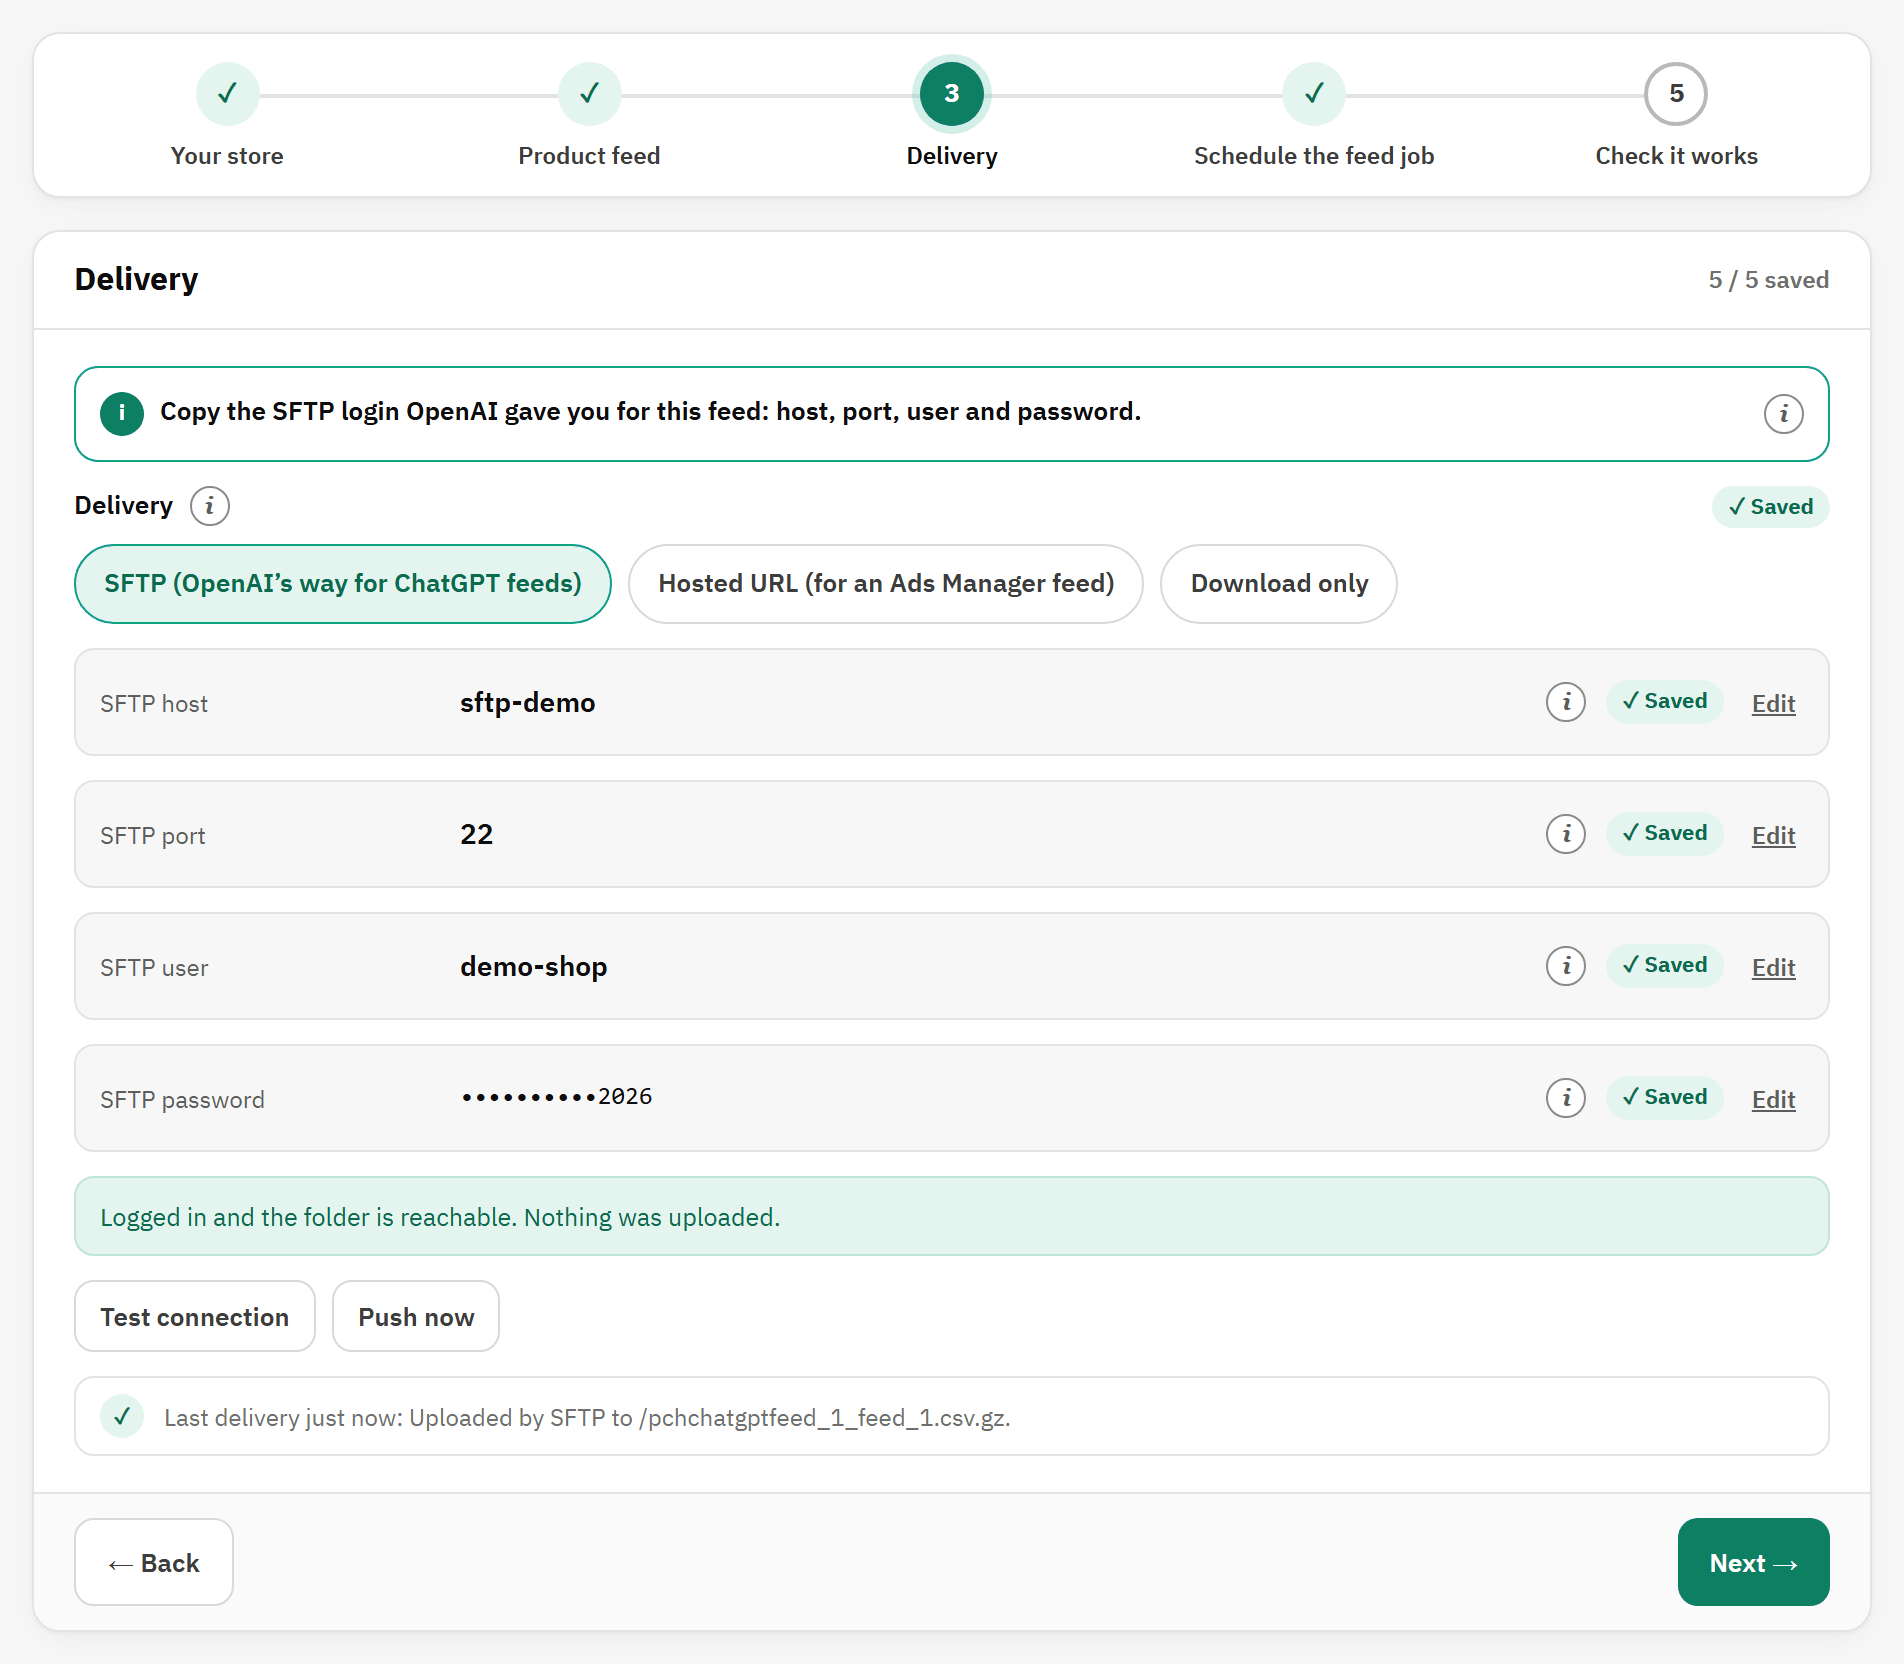
- Delivery: the method of this feed.
- The task: copy the SFTP login OpenAI gave you.
- Test connection logs in and checks the folder, without uploading.
- Push now builds the feed and uploads it at once.
SFTP
- Copy the host of your OpenAI login into SFTP host. A pasted
host:portorsftp://address fills the port too. - Check SFTP port: 22, unless your login names another port. OpenAI’s server has been seen on port 443.
- Copy SFTP user and SFTP password exactly as OpenAI gave them.
- Click Test connection. “Logged in and the folder is reachable. Nothing was uploaded.” means it works.
- Click Push now to send the first file.
The file goes to the root of the account, named pchchatgptfeed_<shop ID>_<feed>.csv.gz. Each feed needs its own SFTP account: OpenAI reads every file of an account as one catalogue.
Hosted URL
Copy the Hosted feed URL into OpenAI’s Ads Manager as the address of a feed file. Hosted feed protection sets how OpenAI logs in: No password (the default), Generated password (the password shown, with any user name) or My own user and password. Then click Check the URL answers: your server fetches the address the way OpenAI will.
Step 4 of 5: Schedule the feed job
The feed job builds and delivers every active feed. Add its address to your scheduler once, and it runs by itself.
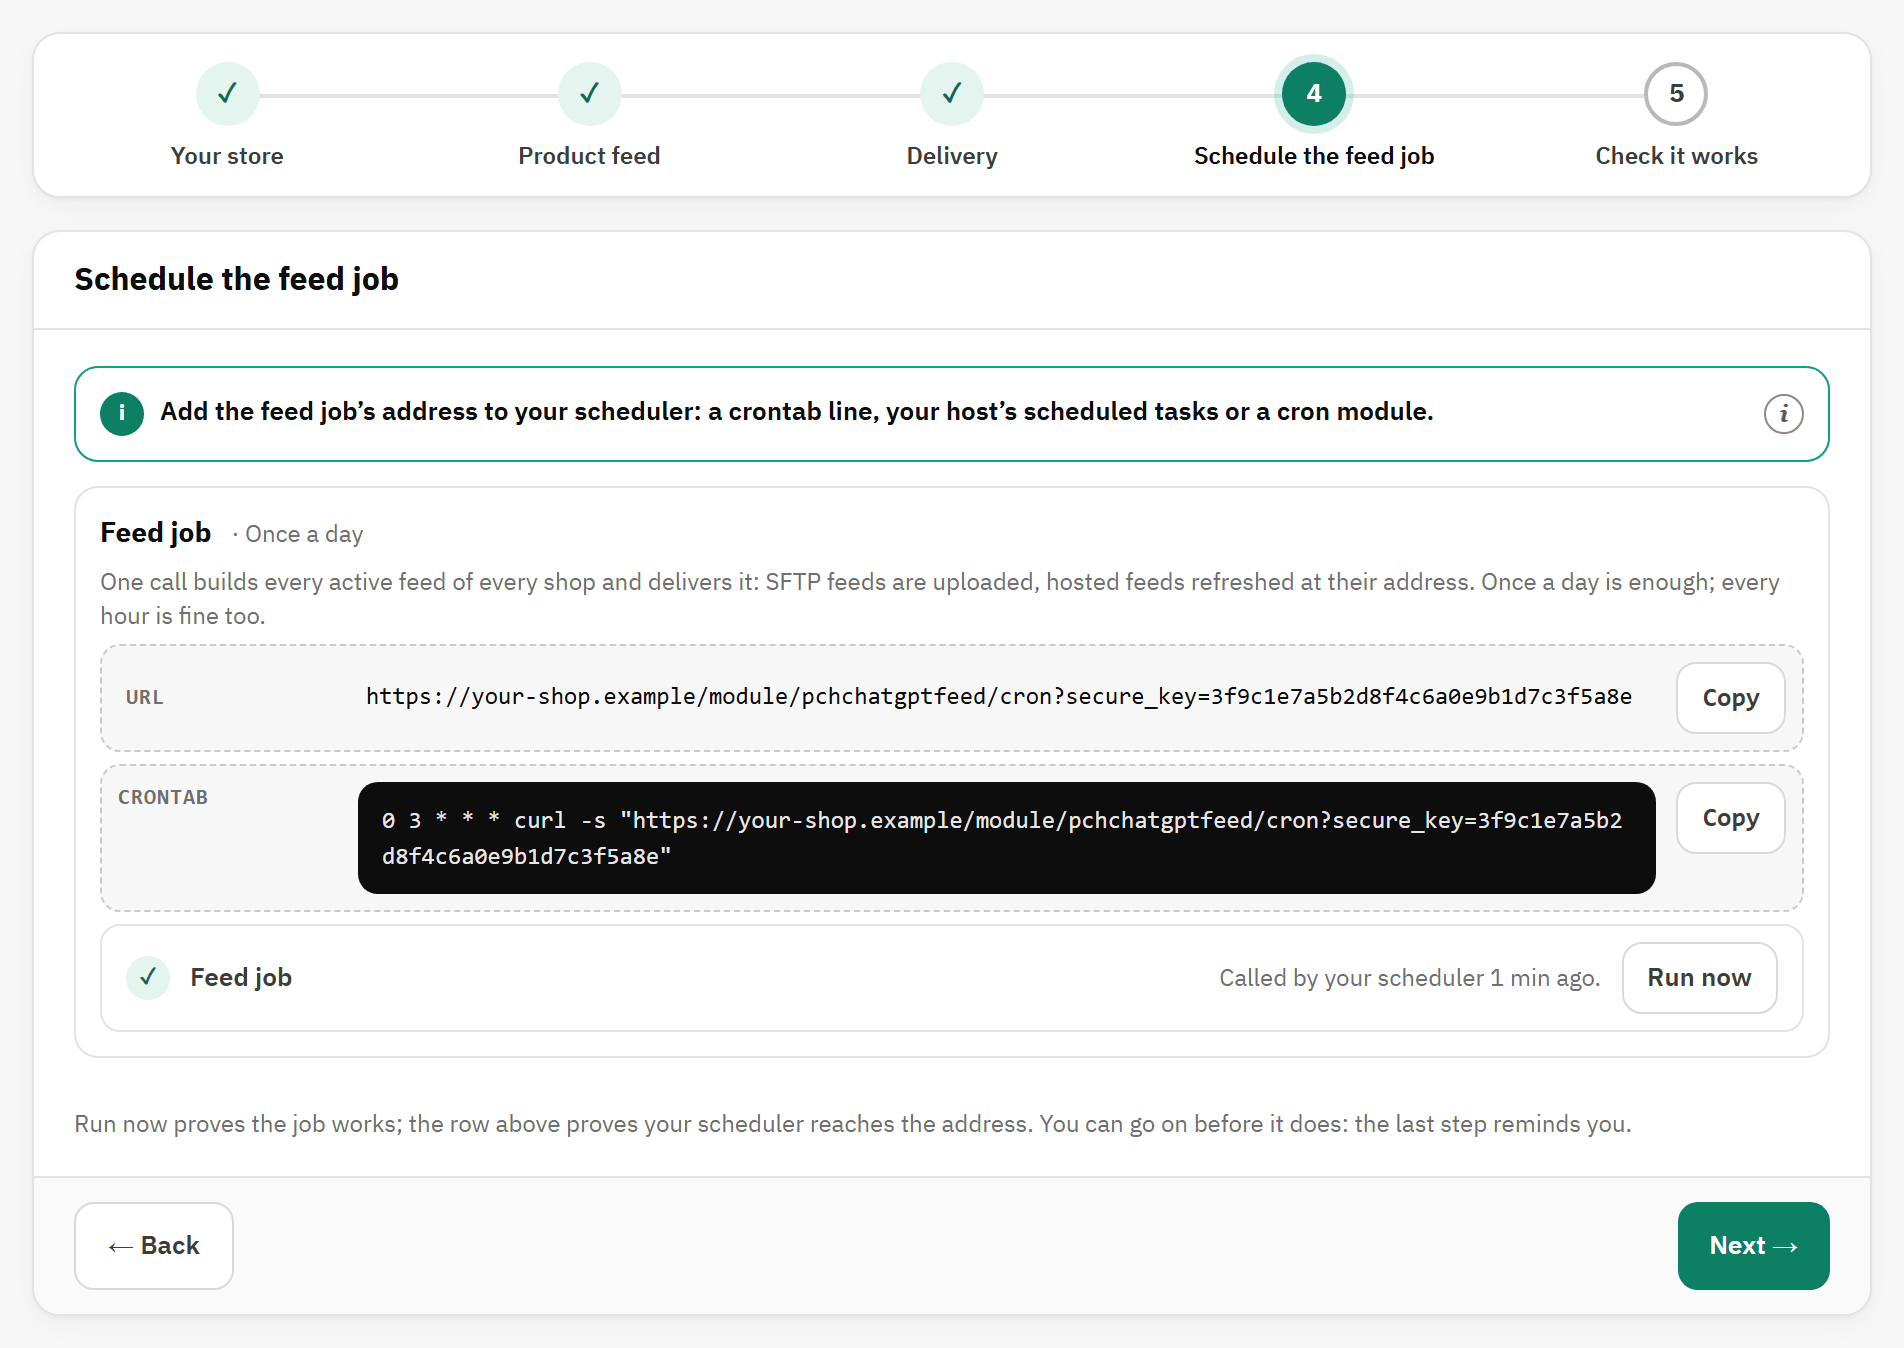
- URL: the job’s address, with Copy.
- Crontab: the same call as a ready-made crontab line, every day at 03:00.
- The status: when your scheduler last called the job, and Run now.
- Click Copy next to URL or Crontab. Never retype the address: its key stops strangers from running the job.
- Paste it into your scheduler: a crontab, your host’s scheduled tasks or a cron module.
- Click Run now to see that the job works.
The status line refreshes every 30 seconds. It turns ✓ when your scheduler calls the address: “Called by your scheduler 1 min ago.” You may go on before that; the last step reminds you. More in The feed job in detail.
Step 5 of 5: Check it works
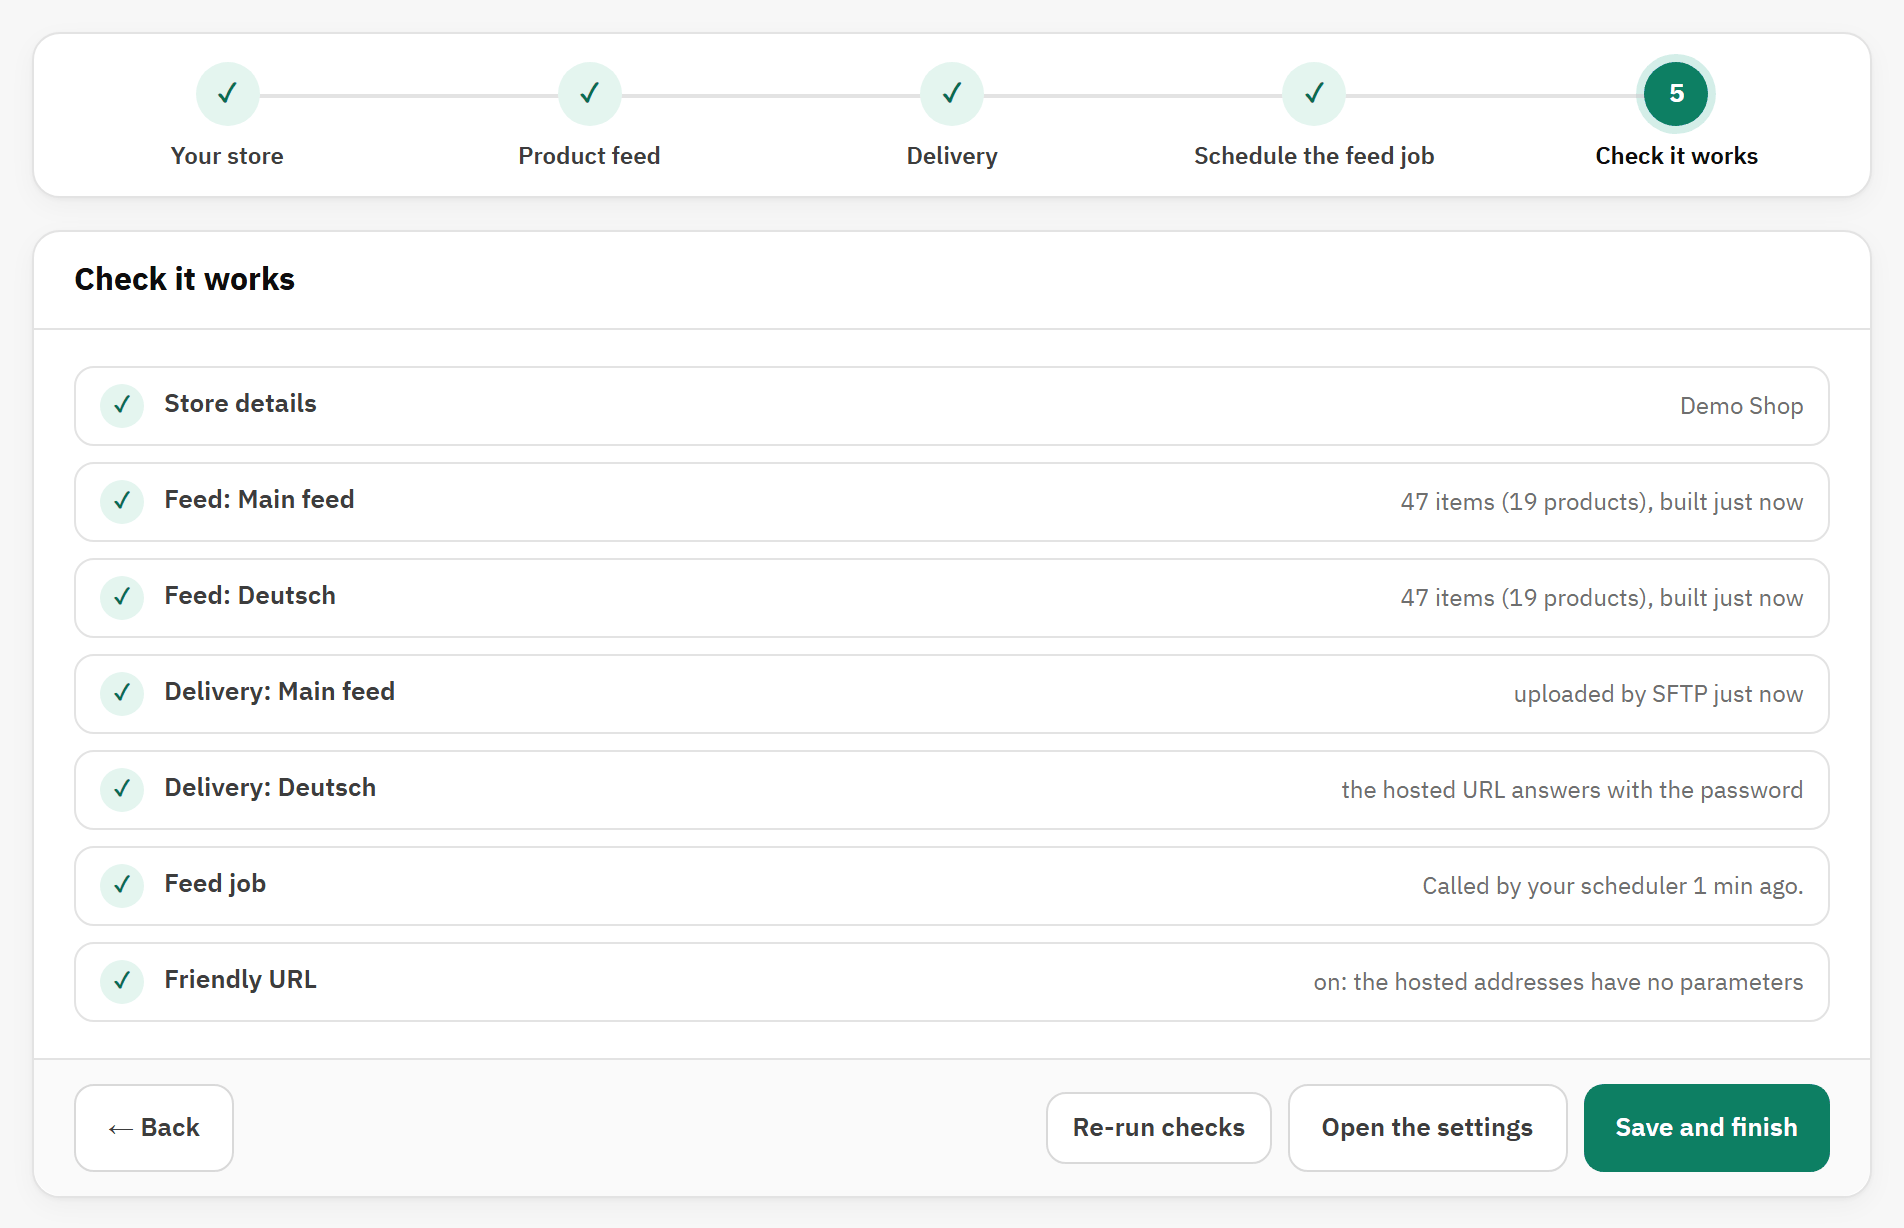
- A check line: ✓ when all is well.
- Re-run checks refreshes the list.
- Save and finish ends the guided setup.
The list is the one of the Health tab (see Health). Checks that never ran start by themselves. A line that is not ticked has Fix →, which opens the step that fixes it.
Save and finish marks the setup as finished: from then on, Configure opens the settings tabs. Open the settings leaves the wizard without finishing it.
Leaving and coming back
- Skip onboarding, at the top right of every step, opens the settings tabs at once.
- Until you finish, the settings show Setup not finished. with Continue setup, which takes you back to the wizard.
- Run guided setup, above the tabs, opens the wizard again at any time. It never resets a value.